Tuesday 12 August 2014

Shed update and what happened in 2013

Hello

As you will notice it's been a long time since I've updated the blog - mainly due to moving out of the Wakehurst cottage into our first house last year, which seems to have taken up a lot of our time!  Because the house needed a lot of serious updating, plus it didn't come with a ready-made suitable bodging area, my usual bodging was put on the backburner.

Though we did manage to get out to a few events in 2013...  including of course the Bodgers Ball in Cambridge though we didn't participate as actively as usual, as having just moved house all the woodworking gear was still packed away.  We made it to Lammas in July in Eastbourne where finally I'd managed to get my things together, and I also joined the Pelicans group at Carisbrooke Castle for a hot busy weekend in August where I managed to sell most of my stock.  We also enjoyed a very chilled weekend at the Teddy Bears picnic in August hosted by the Abbotts in their lovely Essex wood.  And then of course there was no stopping us going to Bentley wood fair in September, probably our favourite event of the calendar alongside the Ball.

So back to bodging domestics, in November I started to replace the dilapidated back garden shed with my old shed which now serves as my bodging workshop.  But twisting my ankle half way through putting it up put this back by about 3 months which was very frustrating.

Of course having a pole lathe in a standard shed doesn't fit, so I had to workout how to raise the shed to give me the height needed for my bowl lathe by an extra 10" or so; I've done this by not using the floor and standing the shed on 6" x 2" oak boards all the way around on oak rounds at the corners which are sunk into the ground by about 2'.  This does mean I have to step over the threshold to get into the shed.  While doing this, I also reinforced the roof and before adding the felting I stapled down some breathable waterproof membrane to keep the structure dry.  Also I've put guttering all around linked up to six slimline water butts to take the water away from the shed footings, as the floor is now just a dirt floor.

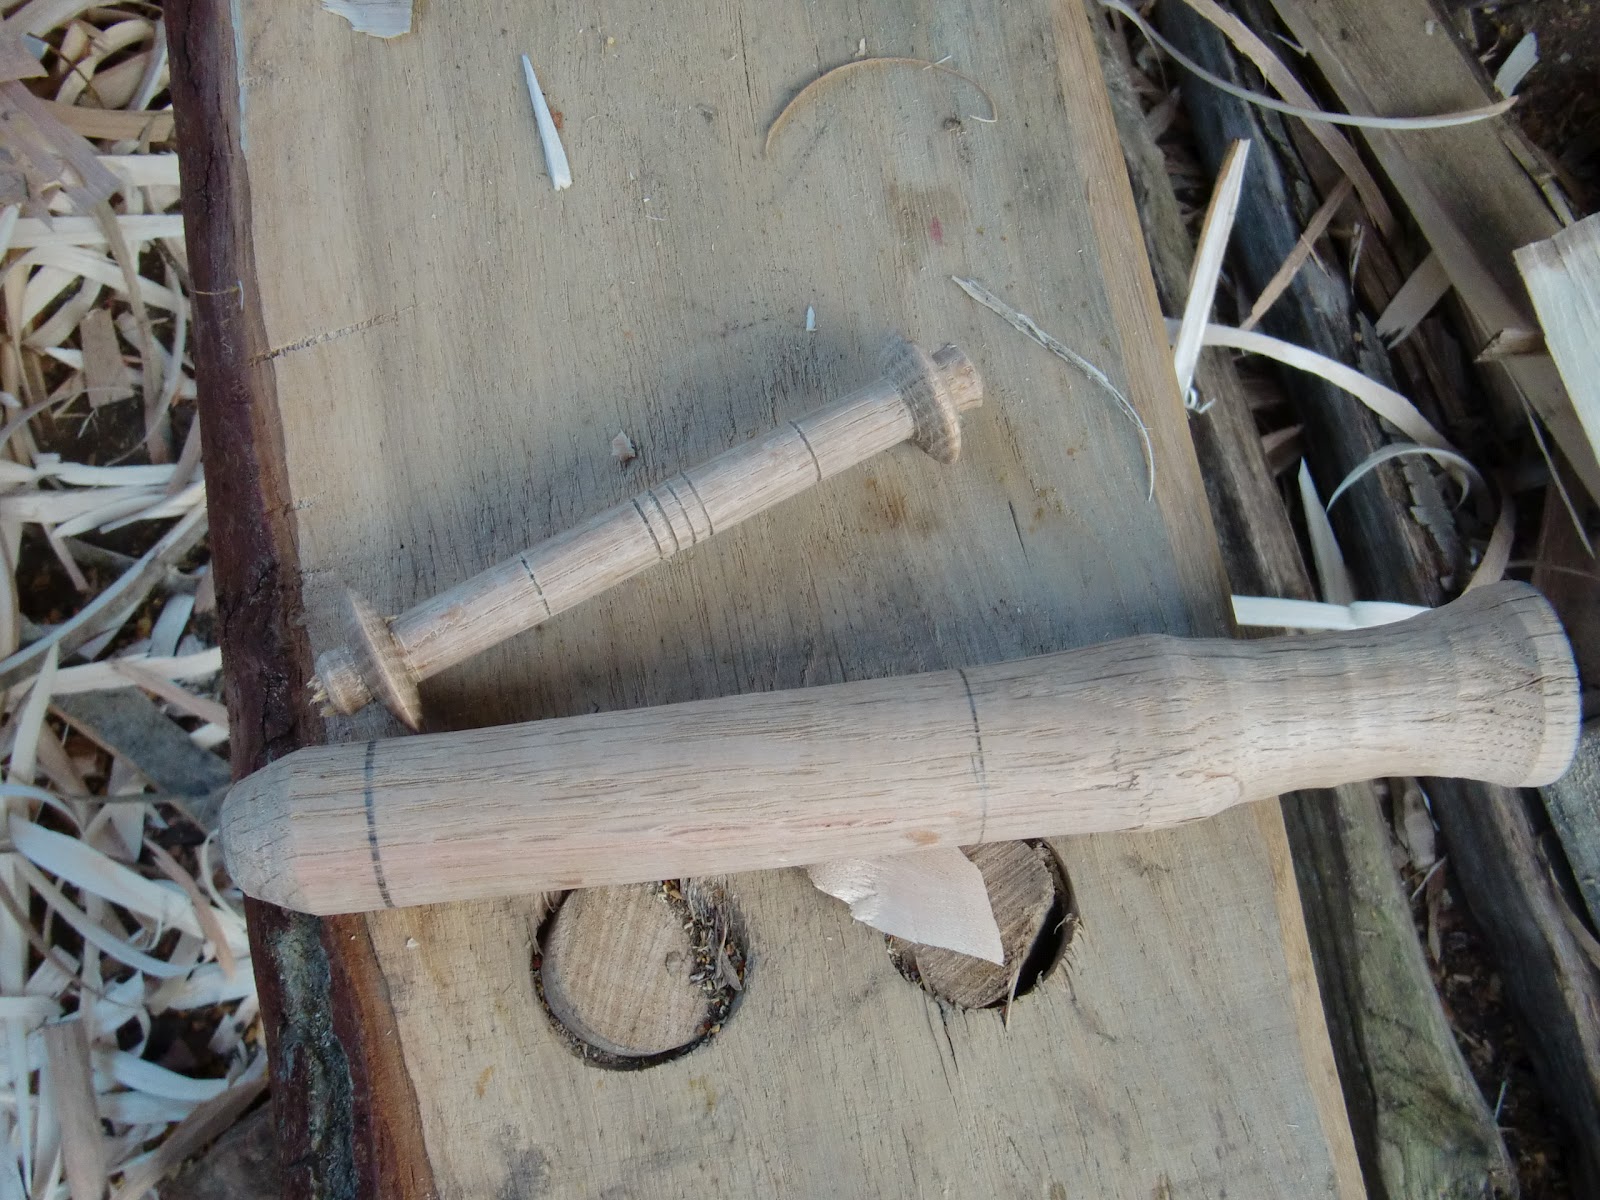
Obviously the shed (10 x 8')  is not as generous in space as a proper workshop would be so I've had to design a dual purpose lathe to save space.  So I have decided not to put my favourite lathe (Lailey-style) into the shed as it takes up a little too much room, and the permanent lathe I have in there now acts as both a bowl/ spindle lathe.  With this, the idea is to have the bed staying in a permanent space-economical position with the ability to use two different treadles depending on what I'm using it for.  So for spindle turning I have my back against the wall with the spindle treadle pointing towards the centre of the shed, but when making bowls I stand on the other side of the lathe in the centre of the shed with the bowl treadle located underneath and behind me.  Also of course I have two sets of poppets for spindle or bowl turning, and two separate bungees anchored from a frame above the bed.


Bowl lathe set up

Spindle lathe set up
Bowl and spindle lathe bungee

I got all this finally up and running by spring 2014 and now able to turn at my leisure :-)

Tuesday 20 November 2012

Training day for Mike and Bob


Training day for Mike and Bob

One of the favorite things I do is to talk about making bowls and what better way than to pass on skills to others, so having Bob and Mike round was a pleasure. 
  
Making a bowl from scratch in a day for the first time is a lot to ask as the skill set is a leap up from spindle turning as the hollowing has many different angles at which the hook tool is being used to make the fine planing cuts that are needed.

So we first started with a one-month old log of Silver birch.  It is not what I would call mellow but fresh.  Normally for a timber such as birch I would normally leave to mellow for at least three months but will have used it up by say nine months before it starts to rot or dry out.  In previous tests of fresh birch, I have found it to give a very good finish and a very clean bowl.

Bob axing out a blank of birch.


Mike also axing out a blank.

Preparing the blank comes first and it is important to spend enough time so as to end up with a blank that will only take two turning passes to remove all of the axe marks.  My two rules are to axe as close as possible to the scribed line (within a millimeter) and to remove all the high “hills” so as to make as true as possible, a half sphere.  Once this has been achieved the mandrel is set on the flat top side of the bowl and installed onto the lathe ready to turn.

Base completed, now hollowing.


The main rules of hook turning is to keep the cutting angle of the hook tool close to the wood so the back bevel stops the cut getting deeper and to make sure the hook of the tool is rotated so the amount of cutting is reduced.  If the cutting tool is allowed to cut too much, then dig-ins, spiralling and bad finish will result. 

Some nice clean turning.
Beautifully hollowed out and ready to seperate.
So both Mike and Bob breezed through all this to complete a finished bowl, besides plenty of tea coffee and of course a warming soup for lunch.  We all had a great time and I believe Mike and Bob will be practicing frantically as soon as they get home!  They even went home with some extra blanks so they have no excuses!  So thank you both and hope the bowling is going well! 

Well done!


Tuesday 20 March 2012

Medieval thread reels

A friend in our re-enactment group Pelican-in-her-Piety, has asked me to turn her some thread reels.  She needs these as she produces high quality hand sewn authentic clothing for the group and whoever else is interested.  Every aspect of the group’s activities has to be authentic as it regularity takes part at events for English Heritage which has high standards and expectations.

The specification for the reel is from a drawing in the book ‘The Medieval Household’ (Museum of London) by Geoff Egan (published 2010) and I took measurements directly from this.  There is no detail of the species of wood it is made from but after a few attempts oak gives me the best finish, though I will continue to try other native species as I gain confidence when making more of these.  

I am using oak in its green state at about 14” long, split and drawknived on a shaving horse.  This is then set in the pole lathe and roughed out into a cylinder.  Each discus at the ends are marked on the spindle so the finer turning can be carried out to the measurements of the original specification.


Once the first reel is finished I part off the reel at each end by thinning down as per the specification profile and remove from the cylinder with a sharp knife.


Once I removed the first reel, I re-centred the waist billet and installed it back onto the lathe so I could turn a second reel.  The reason for removing the first reel before starting the second is to eliminate the vibration that naturally occurs over such a length when the diameter is reduced to the 9mm.

The second reel is then turned in the same way as the first.  The amount of reels that can be turned from a single billet depends on the length of the original piece of wood and maximum length of the lathe bed.  The piece of wood in this case was 14” long and I was able to turn two reels, leaving a 3” piece of waist (the ideal length needed for three or four wraps of cord needed to turn the item).


I have really enjoyed turning these reels as before I converted my bowl lathe to accept spindle work I have not really had much chance to practice spindle projects.  Even making these small delicate reels has helped me improve my skew chisel use.

Once I have finished this initial order, I shall carry on making these reels for the re-enactment market, as I’m sure re-enactors and medieval tailors will appreciate pole-lathe turned items.

Bring on the next project!


Sunday 4 March 2012

Bowl lathe to spindle lathe conversion

Having been focussed on my bowl turning the last few years, I've neglected to make sure I have a resident good quality spindle lathe to play on, to make things like mandrels and tool handles (for the bowl turning), chair parts and other items.

This underlying frustration has made me think about building a new spindle lathe which then got me thinking about making a separate set of spindle poppits for my bowl lathe bed.  This means I can now change from bowls to spindles just by simply changing the poppits and treadle.

Before:

and after:
 

The poppits are made from some scrap oak that was lying around.  They're three inches thick and planed down so they would fit snugly in the bowl lathe bed.  The required toolrest supports were then just let into the poppits as on standard spindle poppits, and the same wedges have been used.  The old spindle treadle is still needed, so I'm still happy using my natural hazel fork.

I tried the lathe out straight away and it was extremely sturdy, the lathe bed not moving an inch, as you would hope for.  Having a lathe bed already set up to make bowls and yet often wanting to turn 'spindle style', I now don't have to put up a separate lathe which makes it all really convenient.  My old spindle lathe was made from soft wood and about 15 years old, so was getting very rickety and was not a pleasure to use at all, so really pleased with this one. :-D

Microbodge at Nick and Nancy's - February 2012

On the weekend of 17-19 February, we enjoyed the first communal bodge of the year for the Sussex group, kindly hosted by Nick and Nancy.

The usual plan for Sussex microbodge ensued, where people engaged in various activities such as John making legs, Fionn making parts for a new shelter, V finishing off her candlestick... also Tim was working on a child's Windsor chair, and Nick was overall 'facilitator' providing advice on the various bodging activities (as well as making sure everyone had a homemade beer!)


There was also lots of spoon carving going on in the bodging shed keeping warm by the woodburning stove.  It was Hannah's brother's first time with the group, showing his natural skills as he carved his way through a number of spoons, and we hear he now has 'the bug'.... good thing too.

There was also a special guest on Saturday from the Kent group, John Burbage, who spent the day making shingles for his timberframe barn.  It was a shame we missed John as we had to miss the Saturday for a family birthday.

Thanks to Nancy for keeping us all fed and watered, with some great homemade nosh including her signature chestnut soup and classic chilli!  :-D

So overall another great event, and looking forward to the next one round V and Steve's in March where hopefully we WILL be cutting the ribbon and smashing a bottle of Cava on Steve's lathe ;-)

Bodge on!

Sunday 18 December 2011

Ardingly Microbodge, 10-11 December 2011


Every now and then, a few interested parties gather local here and there in Mid Sussex to bodge, with the aim of practising their green woodworking skills and other associated skills such as drinking tea and eating nice baked things!

This was all started by the lovely Nick and Nancy a while ago who invited as many as they could fit into their garden to bodge and eat, since then a few other venues have cropped up and last week it was my turn to host.

The main aim of the Microbodge is to lend support and enthusiasm as we can get on green woodwork projects, without complications getting in the way.  This weekend saw some forging going on with the aid of my homemade forge and work-made charcoal fines for the heat.  Fionn wanted to start forging tools for himself so he got on with work and started wisely making a bottoming knife.

He didn’t finish the knife as darkness came in too soon but the initial forging was ready to accept some of the 1st stage of sharpening, leaving the secondary forging of the bottoming curve for next time.  This next stage will then require the heat treatment part and final sharpening.  This project will give Fionn a good base to make his first hook tool later down the line.

Nick got on with some bowl turning on his lathe and even talked Tim through some bowl turning who I believe made his first green bowl.

Nick’s work has come on a great deal and the improvement in his work can clearly be seen and the finish on his bowls is excellent.  Through the day I noticed he was returning to the sharpening stone to “tickle” his tool (bowl hook!) which is essential to the good finish of a good looking bowl.

It was great to see Steve was concentrating on his poppits to finish his beautifully crafted pole lathe, and Vanessa was turning candlesticks in time for Christmas on Fionn’s lathe, showing her eye for detail, and we look forward to seeing the finished article.


Others joined us just for the social, you can normally tell who they are from the workman’s hands (or not)!

Becky and Tim were here, as well as Em and Gaz who started their next spoon which they took home to finish off in their front room as instructed.  We will be inspecting their work at the next micobodge!

We obviously had to eat over the weekend, so we took the opportunity to spark up the fire pit and cook stew and dumplings in the Balkans Kotlich we were bought for Christmas last year by Char and Dave (thanks!).

I personally loved it and it was very filling, the herby cheesy dumplings were a hit and everyone was suitably fuelled to carry on in the afternoon.

Mike Gordon brought his tart which everyone enjoyed, it appears he has other talents other than his bodging skills, including his next fabulous spoon.  So we’re looking forward to the next treat Mike!

For those who stayed with us for the whole weekend, we rounded off Saturday evening with a quick visit to see the famous Wakehurst lights and then piled down the Ardingly Inn.  Happy days.  So, a great weekend had by all, and can’t wait for the next winter bodge!

Sunday 4 December 2011

A brief history of how my bowlturning came about


Hello readers

This is my first attempt at blogging, so apologies if it all feels a bit rough round the edges, but I hope you enjoy this insight into the life of a green woodworker!

So, first things first, a brief account of my history and what this blog’s all about.

I'm a tree surgeon based in a small Sussex village called Ardingly, working for the country's leading arboretum, Kew Gardens, at Wakehurst Place.  Not only do I lead on the gardens' tree work, but I carry out all sorts of woodland conservation and forestry work too.

But perhaps the most exciting development in my career so far has been entering the world of heritage green woodwork, my passion in life (well, perhaps second to my wife to be!).  I've been pole lathe turning since the mid '90s, and have always had an ambition to make bowls on a pole lathe after seeing a picture of Stephen de Brett doing this in Mike Abbott’s ‘Green Woodwork’ book, but somehow never got round to making it happen due my lack of knowledge of this complicated skill at the time.

However, this all changed when I had the opportunity to build a timber frame oak building at Wakehurst.  I enjoyed this so much, it was the realisation that I should delay no longer in pursuing my ambition to turn green wooden bowls.

Now I have got to a stage where I consider myself a fledged competent bowl turner, and I would like to write this blog to record how I have developed my skills and where they’re taking me now.

2011 Bodgers Ball, Lower Brockhampton (the 'half hour challenge')


I’d also like to take the opportunity here to pay a tribute to my grandparents, who inspired me as a child to respect nature and enjoy the countryside from a young age.  I stayed with them every weekend after school and during school holidays, and they would take me out to local woodland and wildlife sites like Woods Mill and the South Downs.  They also taught me basic field skills like using a sheath knife, collecting firewood, axework and lighting a fire, well before I was 10.  This is what drove me in the end to have a career in conservation and treework.